 UPDF for Windows
 UPDF for Mac
 UPDF for iPhone/iPad
 UPDF for Android
 UPDF AI Online
 UPDF Sign
 Edit PDF
 Annotate PDF
 Create PDF
 PDF Form
 Edit links
 Convert PDF
 OCR
OCR PDF to Word
 PDF to Image
 PDF to Excel
 Organize PDF
 Merge PDF
 Split PDF
 Crop PDF
 Rotate PDF
 Protect PDF
 Sign PDF
 Redact PDF
 Sanitize PDF
 Remove Security
 Read PDF
 UPDF Cloud
 Compress PDF
 Print PDF
 Batch Process
 About UPDF AI
 UPDF AI Solutions
 AI User Guide
 FAQ about UPDF AI
 Summarize PDF
 Translate PDF
 Chat with PDF
 Chat with AI
 Chat with image
 PDF to Mind Map
 Explain PDF
 Scholar Research
 Paper Search
 AI Proofreader
 AI Writer
 AI Homework Helper
 AI Quiz Generator
 AI Math Solver
 PDF to Word
 PDF to Excel
 PDF to PowerPoint
 User Guide
 UPDF Tricks
 FAQs
FAQs UPDF Reviews
 Download Center
 Blog
Blog Newsroom
 Tech Spec
 Updates
 UPDF vs. Adobe Acrobat
 UPDF vs. Foxit
 UPDF vs. PDF Expert
The term OCR (Optical Character Recognition) stands as a transformative force that revolutionized the way we extract text from images and scanned documents. This approach enables machines to interpret and convert printed or hand-written text into readable data. While many users seek guidance on training a custom OCR model with TensorFlow, others want to perform it through simple means.
TensorFlow is an open-source AI platform that provides tools to allow users to build efficient OCR systems. Therefore, understanding its capabilities and selecting the right method can be a hassle, especially for beginners. As we delve into this article, we'll show how to train and execute a custom model while performing OCR with TensorFlow. It also covers the direction one needs to take to simplify their workflow with an effective approach.
Part 1. How to Train a Custom OCR Model With TensorFlow?
In this digital era, universities often need to digitize handwritten lecture notes to make them accessible and searchable. Where standard OCR tools might struggle with diverse handwriting styles, training a custom OCR model with TensorFlow offers a reliable solution. Thus, below is a breakdown of the steps involved in training a custom OCR TensorFlow model:
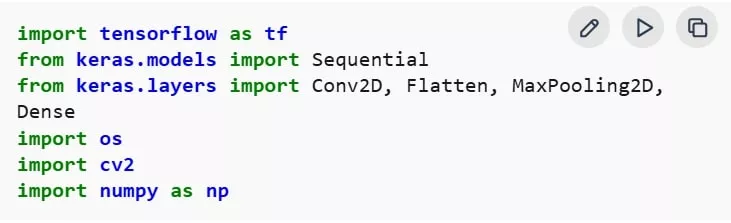
Step 1. Before integrating the OCR model, install TensorFlow with the given command to utilize its machine-learning capabilities for training.

Step 2. Implement OpenCV, NumPy, Matplotlib, TensorFlow, and Keras libraries for image processing, model building, and training purposes.
Step 3. Afterward, download and unzip the dataset, which contains the handwritten text images for OCR training.
Step 4. The integrated libraries will read each image from the dataset, resize the image to 64x64 pixels, and normalize the pixels to the range, preparing for training.
Step 5. For efficient computation, convert the preprocessed images and their labels into NumPy arrays, which are 3D arrays.

Step 6. After that, use "LabelEncoder" to convert textual class labels into numerical values for the model training purpose.

Step 7. Move ahead and shuffle the dataset to avoid bias during training and keep the image-label pairs aligned. Doing this creates a randomness in the data, which is useful while training an OCR TensorFlow model.

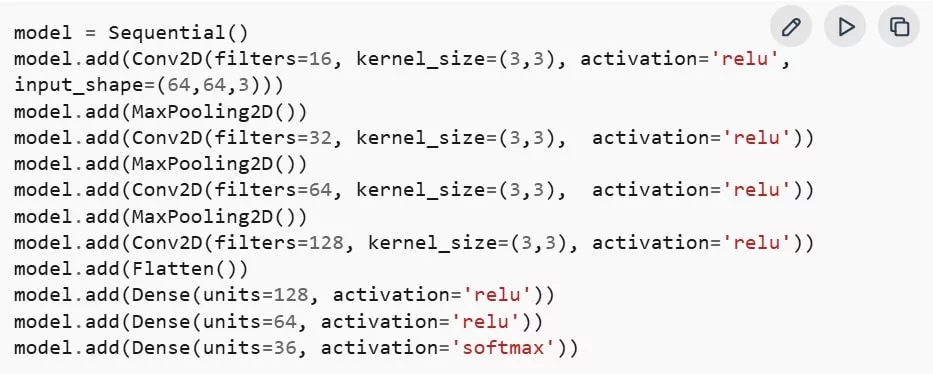
Step 8. The OCR model is constructed using Keras AI with the TensorFlow backend. Initially, a 16-filter Convolutional layer is added, which is followed by 32, 64, and 128-filter Convolutional layers with MaxPooling to reduce dimensions. Following this, the output is flattened and passed through a Dense layer with 128 or 64 neurons, and finally 36-neuron "softmax" layer is added for multiclass classification.
Step 9. To compile the model, use the "Adam" optimizer for adaptive learning capabilities and "sparse categorical crossentropy" for multiclass classification with integer labels. Finally, the accuracy is set to monitor the model's performance throughout training.
Step 10. In the end, train the model using the shuffled dataset with a validation split to monitor performance during the training.

Part 2. How to Perform OCR to Images or Scanned Documents With TensorFlow
Law firms are also required to digitize thousands of scanned legal documents to make them editable. After training an OCR TensorFlow model through the above guide, they can preserve these files digitally, making them accessible to researchers worldwide.
With this, if you're using a scanned document, you need to transform it into an image first. Hence, a step-by-step tutorial is given to test an integrated model with TensorFlow using images:
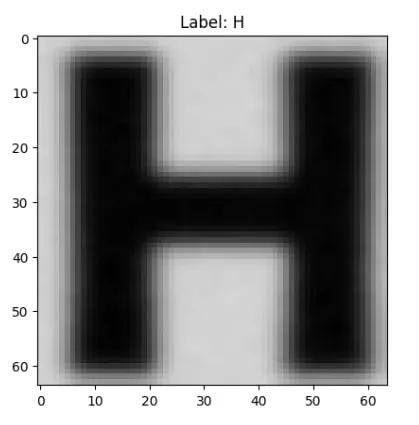
Step 1. The test image undergoes the same processing steps, as mentioned earlier, which include resizing, normalizing, and converting for model evaluation.

Step 2. First, the trained model is used to predict labels for the dataset. Next, "np.argmax" extracts the class for each sample, which is then converted back to the original labels using "LabelEncoder." Lastly, a test image will appear with its predicted labels.

Output:
Step 3. For model evaluation, the true labels from the test dataset are processed using "LaberEncoder" to convert them into numerical values. It also ensures the labels match the encoding used during training for accuracy in evaluation.
Step 4. Following this, the trained model is tested using the test images and true labels. Then, the evaluation process returns test loss and test accuracy, which measures the model's errors and precision in test data.
Step 5. Afterward, the model is evaluated on the test dataset to obtain the accuracy score. Later, the test accuracy is printed with a clear measure of the model's performance on unseen data.

It is clear that OCR with TensorFlow takes a lot of time, which is why we recommend using a simplified tool like UPDF. With only a few clicks, it allows users to extract text from images and scanned documents without requiring any coding or complicated setup. Therefore, download UPDF now and get precisely searched text within no time.
Windows • macOS • iOS • Android 100% secure
Part 3. Bonus: Use UPDF to OCR Images and Scanned PDFs More Efficiently
UPDF is a comprehensive PDF editor that simplifies document management tasks without any delays. While OCR TensorFlow requires coding and model training, UPDF's OCR easily converts scanned documents and images at the highest speed. It allows users to choose a language and image resolution for their final output. Besides this, you can also set the page ranges to perform OCR on specific pages.
Tutorial to Perform OCR on Images Using UPDF
Dive into the steps given below to learn how to perform recognition technology on images using UPDF capabilities:
On desktop
Step 1. Install UPDF on your device, press the "File" tab from the top toolbar to access the drop-down menu. From the list, click on the "Create" option to choose "PDF from File" from the revealing extended menu.
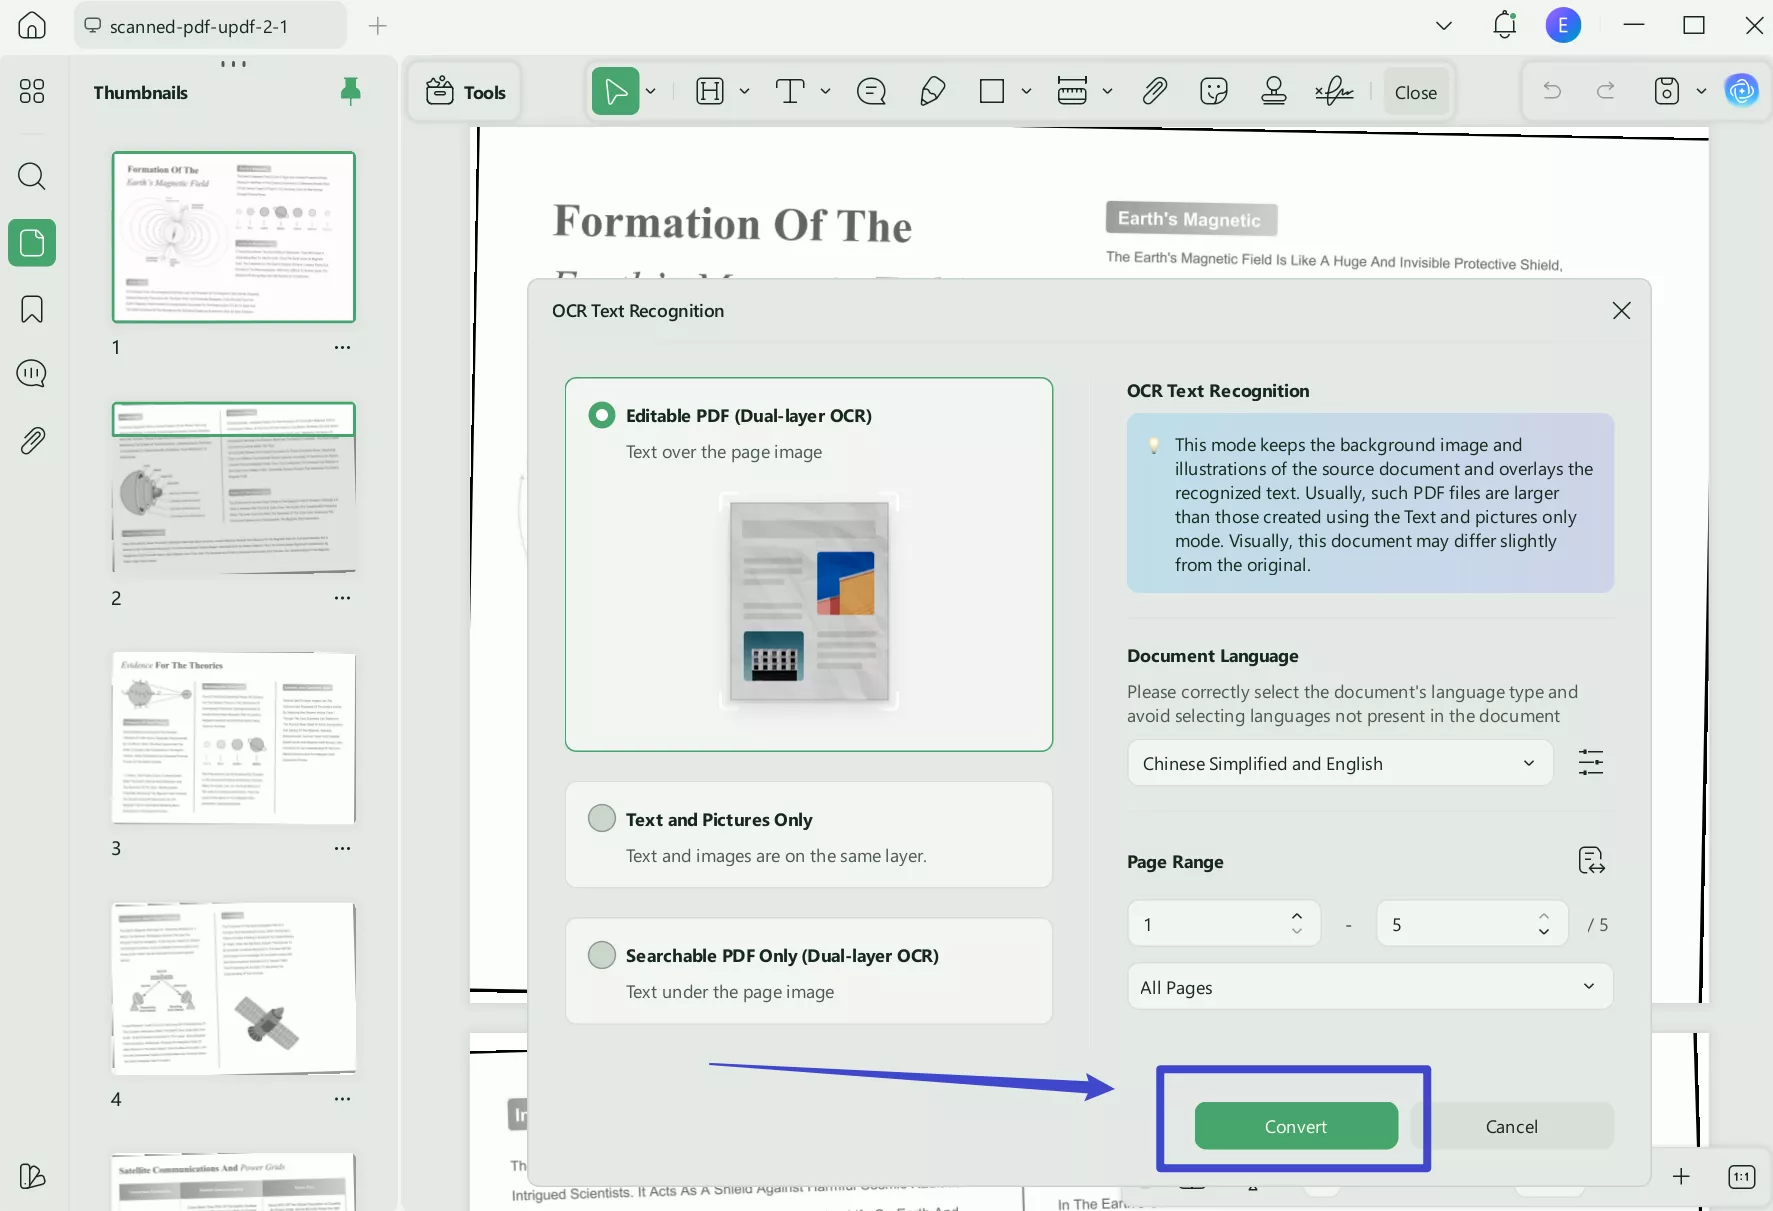
Step 2. Once your image is imported as a PDF, navigate to the "OCR" option in the left toolkit. From the revealing menu, extend the options for "Layout" and select the "Text and Picture Only" option. Now, press "Detect Optimal Resolution" to adjust the resolution of your image. And you have to choose the language of the opened document. Finally, click on the "Convert" button at the bottom to receive an editable file later.
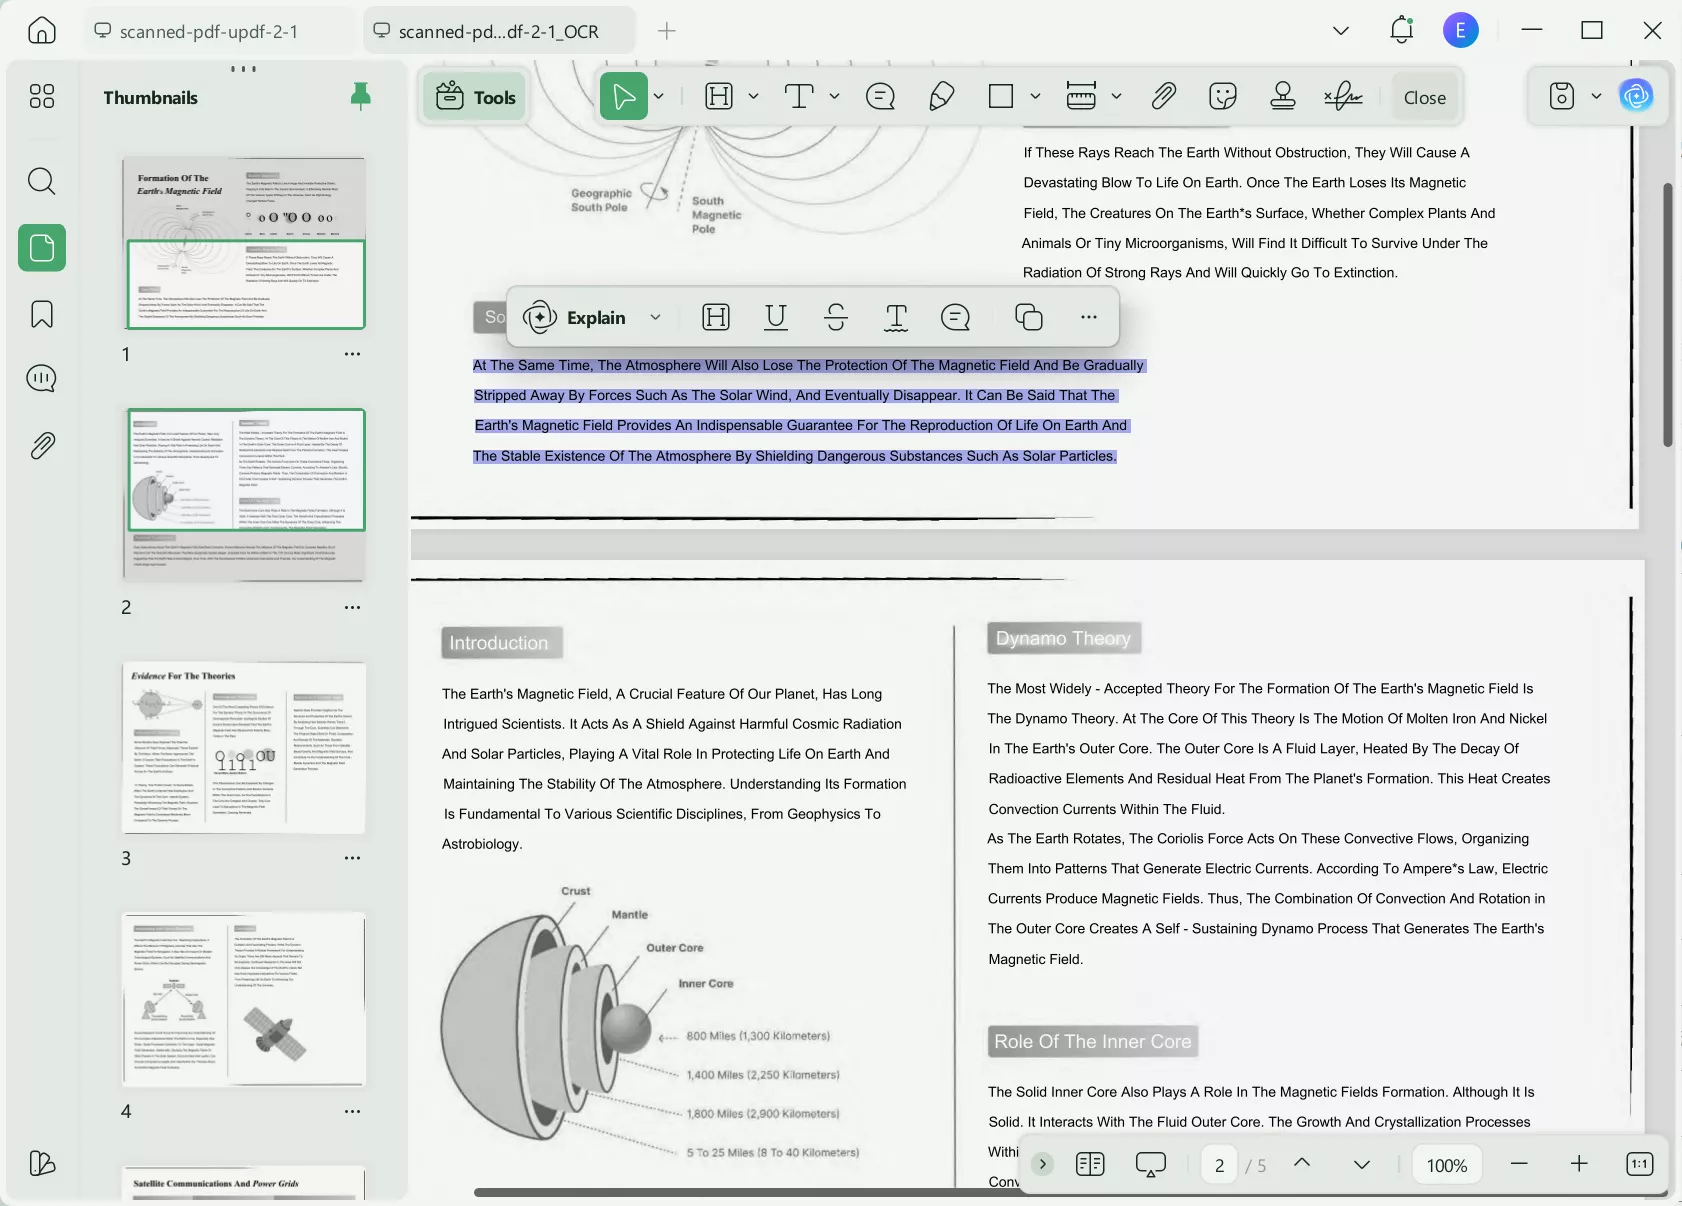
Step 3. On the OCR file, head to the "Edit" mode from "Tools". Later, select text on the document to highlight or change its color for better retention.
On mobile
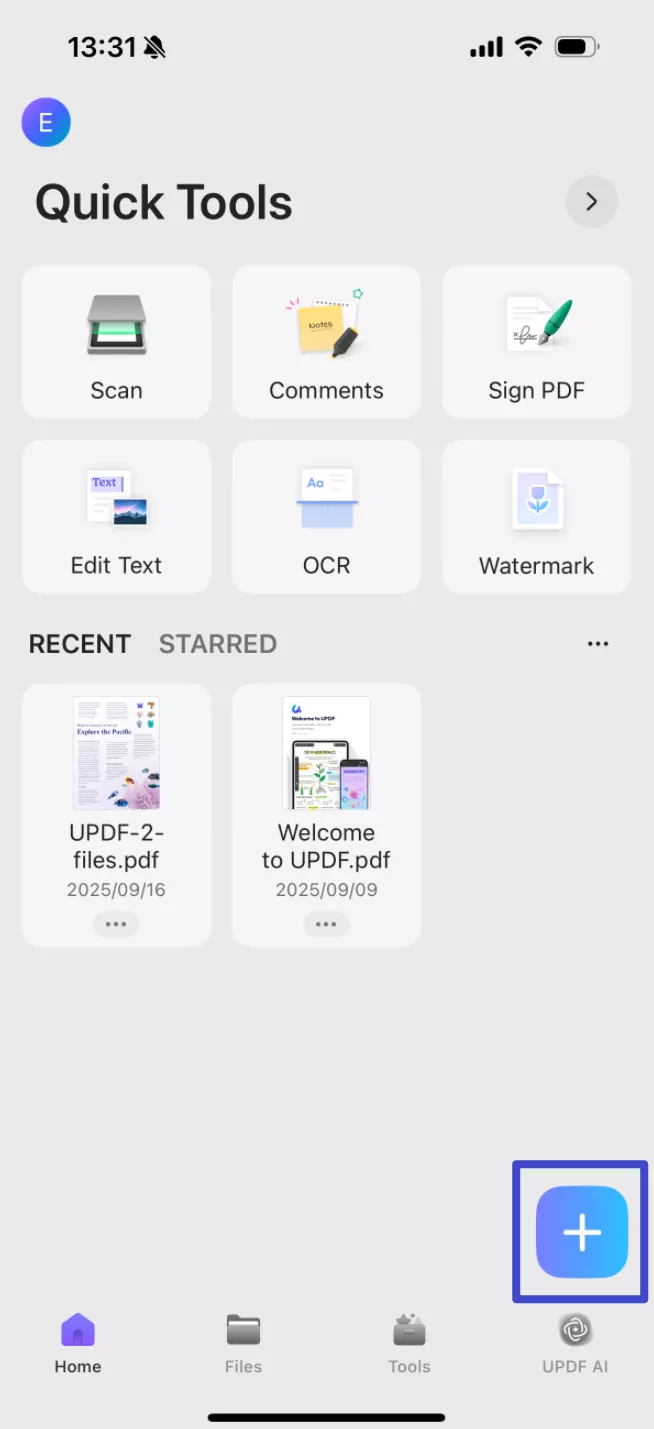
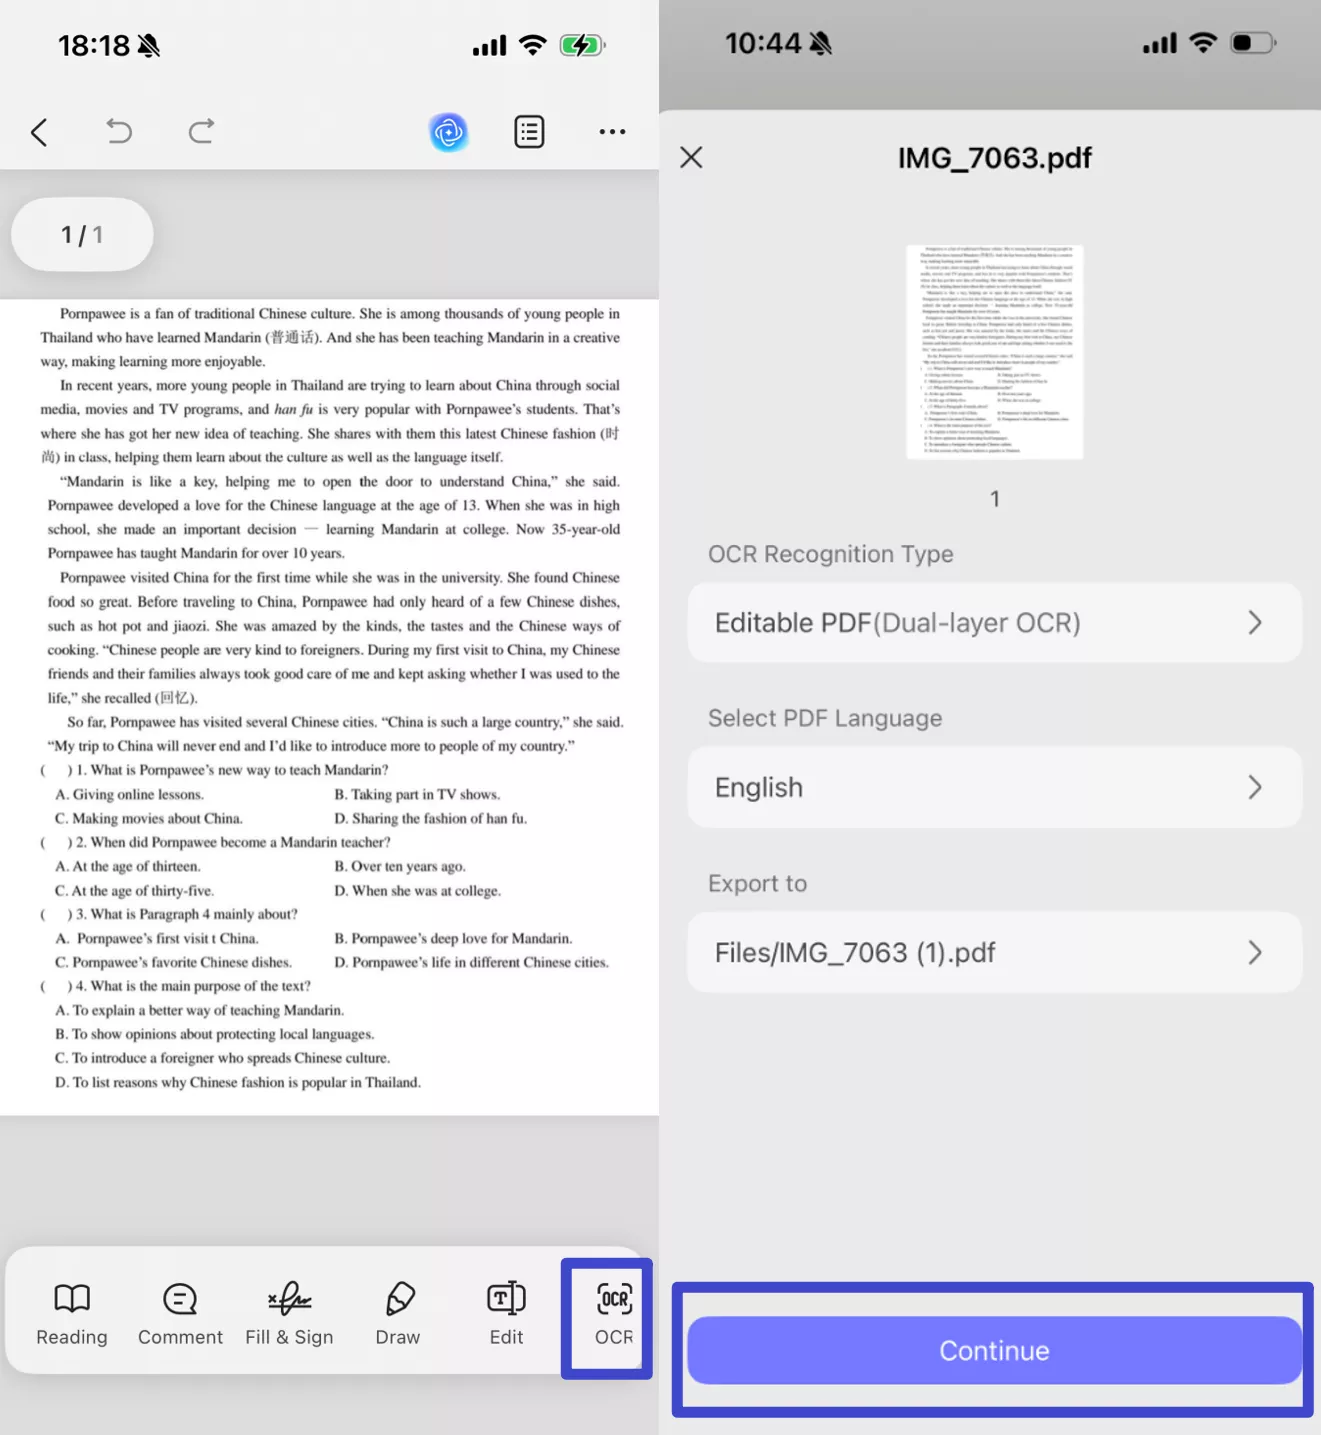
Step 1. Download UPDF for iOS from App Store or UPDF fopr Android from Play Store. Then open UPDF on your phone, click the "+" button in the bottom right corner to upload your file.
Step 2. Click "OCR", adjust the settings as needed, then tap "Continue". In a moment, OCR will finish and the result will be automatically saved in your UPDF files.
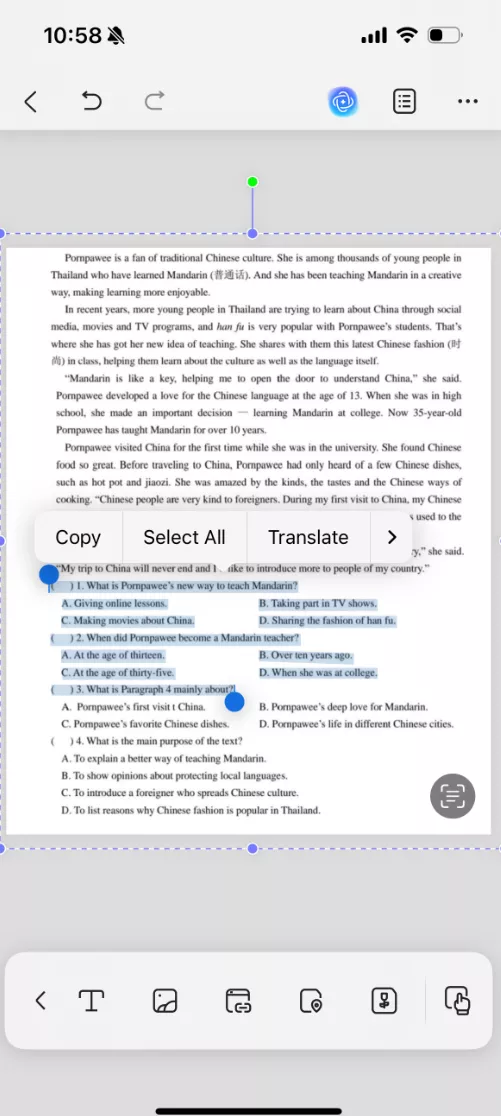
Step 3. Now, click the "Edit" button at the bottom, you can freely copy the text or edit the content.
Comprehensive Guide to Perform OCR on Scanned Documents with UPDF
Besides using OCR with TensorFlow approach, follow the tutorial below to understand how to perform OCR on scanned documents with UPDF:
Step 1. To perform OCR on scanned documents, launch the tool and press the "Open File" button from the main interface. Following this, your scanned PDF will be imported into the tool for OCR performance.
Step 2. Later, head to the "OCR" icon from the "Tools". Make sure to define the "Layout," "Document Language," and other essential settings before hitting the "Convert" to get an accessible file successfully.
Step 3. In the recognized document, click the "Edit" icon from the toolbar. Now, choose any text in the document to change its font size or color for instant editing tasks.
Conclusion
In conclusion, using a machine-learning approach is a mindful step toward extracting text from scanned documents with customization and flexibility for various applications. However, OCR with TensorFlow requires setting up and training a model, which can create complexity and consume time. For this, using UPDF is the ultimate solution because it excels in producing high-quality outputs with 99% accuracy. It facilitates users to adjust page range settings and layouts for final OCR files.
Windows • macOS • iOS • Android 100% secure


 Enola Miller
 Delia Meyer
 Lizzy Lozano
  Enya Moore
  Enola Davis